Tips for Making Your Travel Photography Stand Out
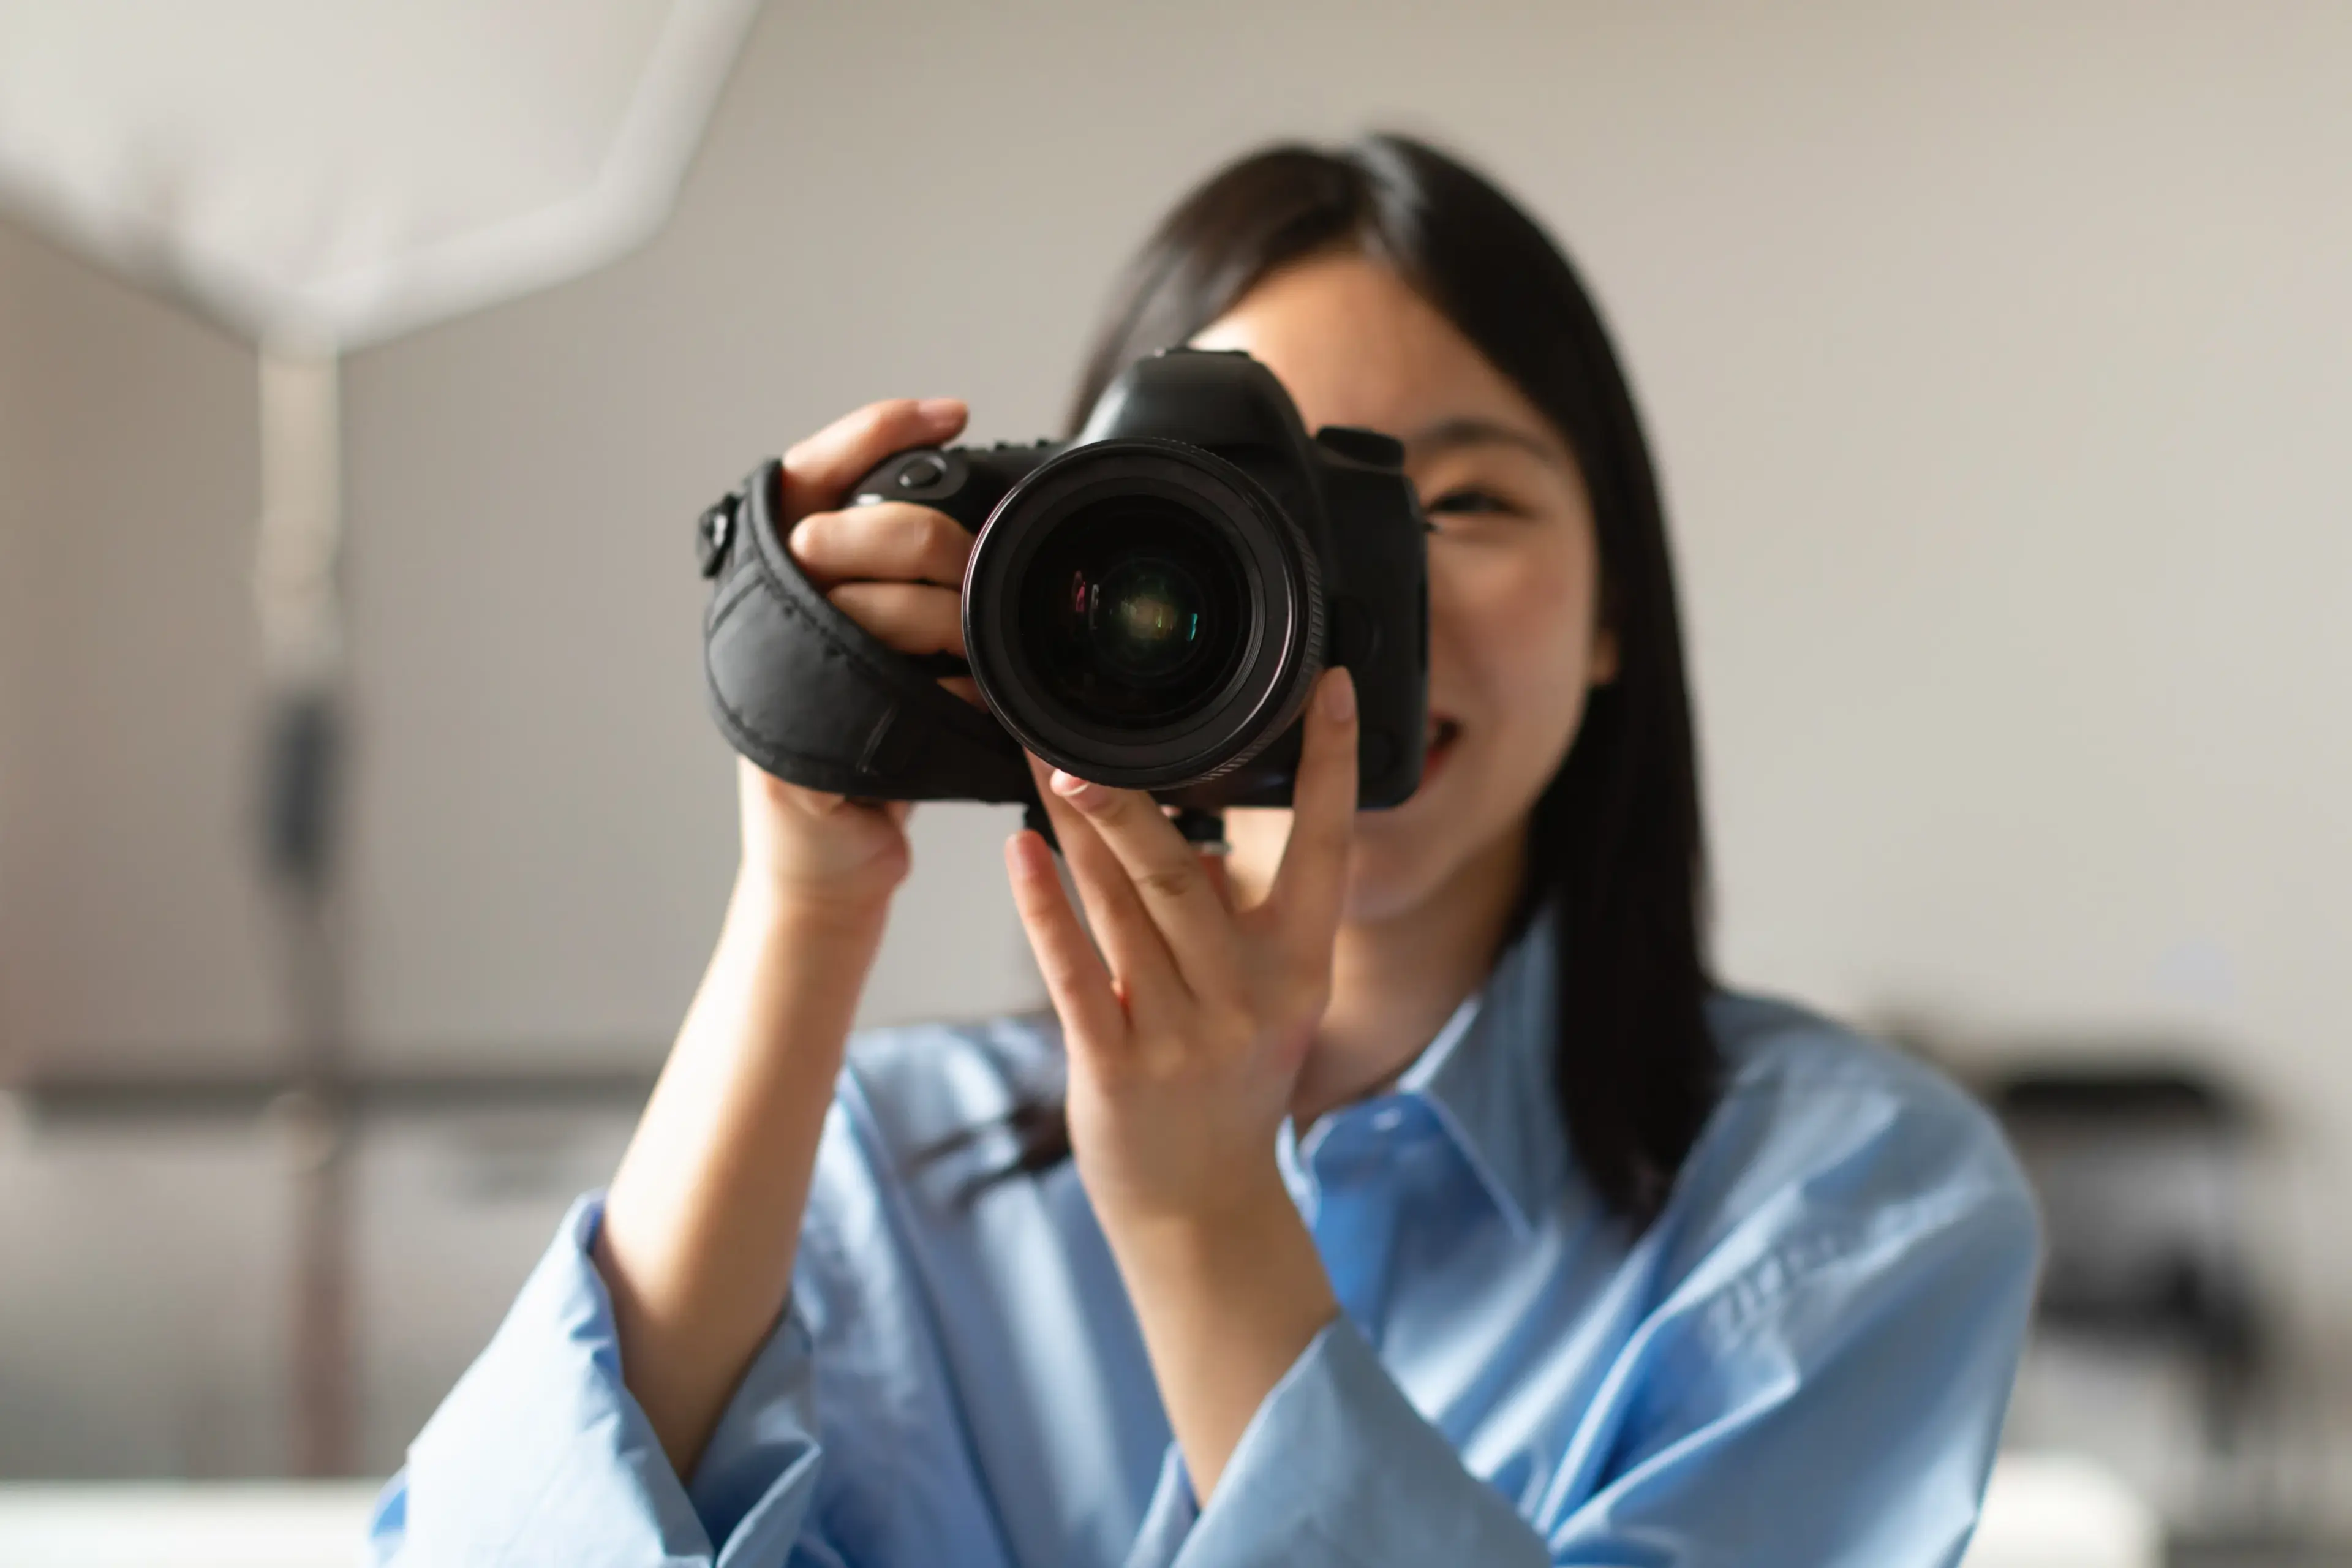
Updated August 2, 2023Not everyone has a digital single lens reflex (SLR) camera, but most people have access to an optical zoom digital camera or smart phone. This is nothing to be ashamed of, these cameras fit in the smallest of bags, are very light and can take quality photos. The optical zoom cameras are a little trickier to use at night or from farther distances. Here are some tips for the modest traveler with the basic digital camera.
Figure out what you want from you photos
What are you trying to get out of your photograph? What or who do you want to include in the photo? Don’t limit yourself to taking pictures of only the iconic spots. There beautiful moments and places everywhere you go. Take pictures and take many of them. You will probably delete most of them, but have some gems in there to be proud of.
Scope Out the Places you Want to Photograph in Advance
This is something I’ve found to be totally necessary to get that great picture of an old church, a statue, or beautiful setting. This is key to making your photo look professional and clean. If you visit your favorite spot at the right time, you can avoid unsightly crowds and strange lighting. This only works if your not in a time crunch. The best part is you probably have access to a digital camera or a smartphone camera, meaning you have something travelers in years past did not have. You have to ability to see photos seconds after the click. You can always just delete the photo, or continue to take as many as you want (protip: get a good memory card).
Pay Attention to the Lighting
Weird shadows and red eye always occur because of poor lighting or poor choices in the positioning of your subjects. Noon and the early afternoon hours are notoriously the most difficult to photograph. Of course, if you’re doing a lot of traveling during the day, waiting for better lighting won’t really work. The sun should face the subject and not rest behind (this will be back-light and it will form a silhouette). If you absolutely must take the photo with the sun behind, you can combat this with the flash. Keep in mind that the flash range is 10 feet for most digital cameras. If you’re taking photos under fluorescent lighting, you will need to pop that flash on to avoid a green hue in the pictures.
To avoid red-eye in your night pictures, aim the flash a different direction from the subjects’ eyes. You will really have difficulty shooting buildings or any sort of landscape at night unless your shooting in night mode and these places happen to have lots of unnatural lighting.
Change up You Levels
Most photographers will say that you can’t just stay in the same position for each shot if you want interesting photos. If you always set up the exact same shot, your photos will lack personality. Get on the ground and set the sense of space and place. Or, find a higher area to stand so you can focus on the person or figure of interest. Try using the natural lines of the area your shooting to show scale.When all else Fails… Cheat!
If you own a computer, you should have Photo Gallery for Windows, iPhoto for Apple, or pay for an enhanced editor like Photoshop. And that is all you will need to add spice to your photos. Just look at your pics in the photo editor and make the little adjustments that will make you photos fabulous. Make sure the horizon is straight and the color balance makes sense, if it doesn’t, adjust the color and tones of the photo until it does. If you have Photoshop, you have the option of burning and dodging your photo to intensify or reduce shadows.

Tips for keeping it cheap in a small town

Tips for Cruising on the Cheap
Travel Tips for Southern California
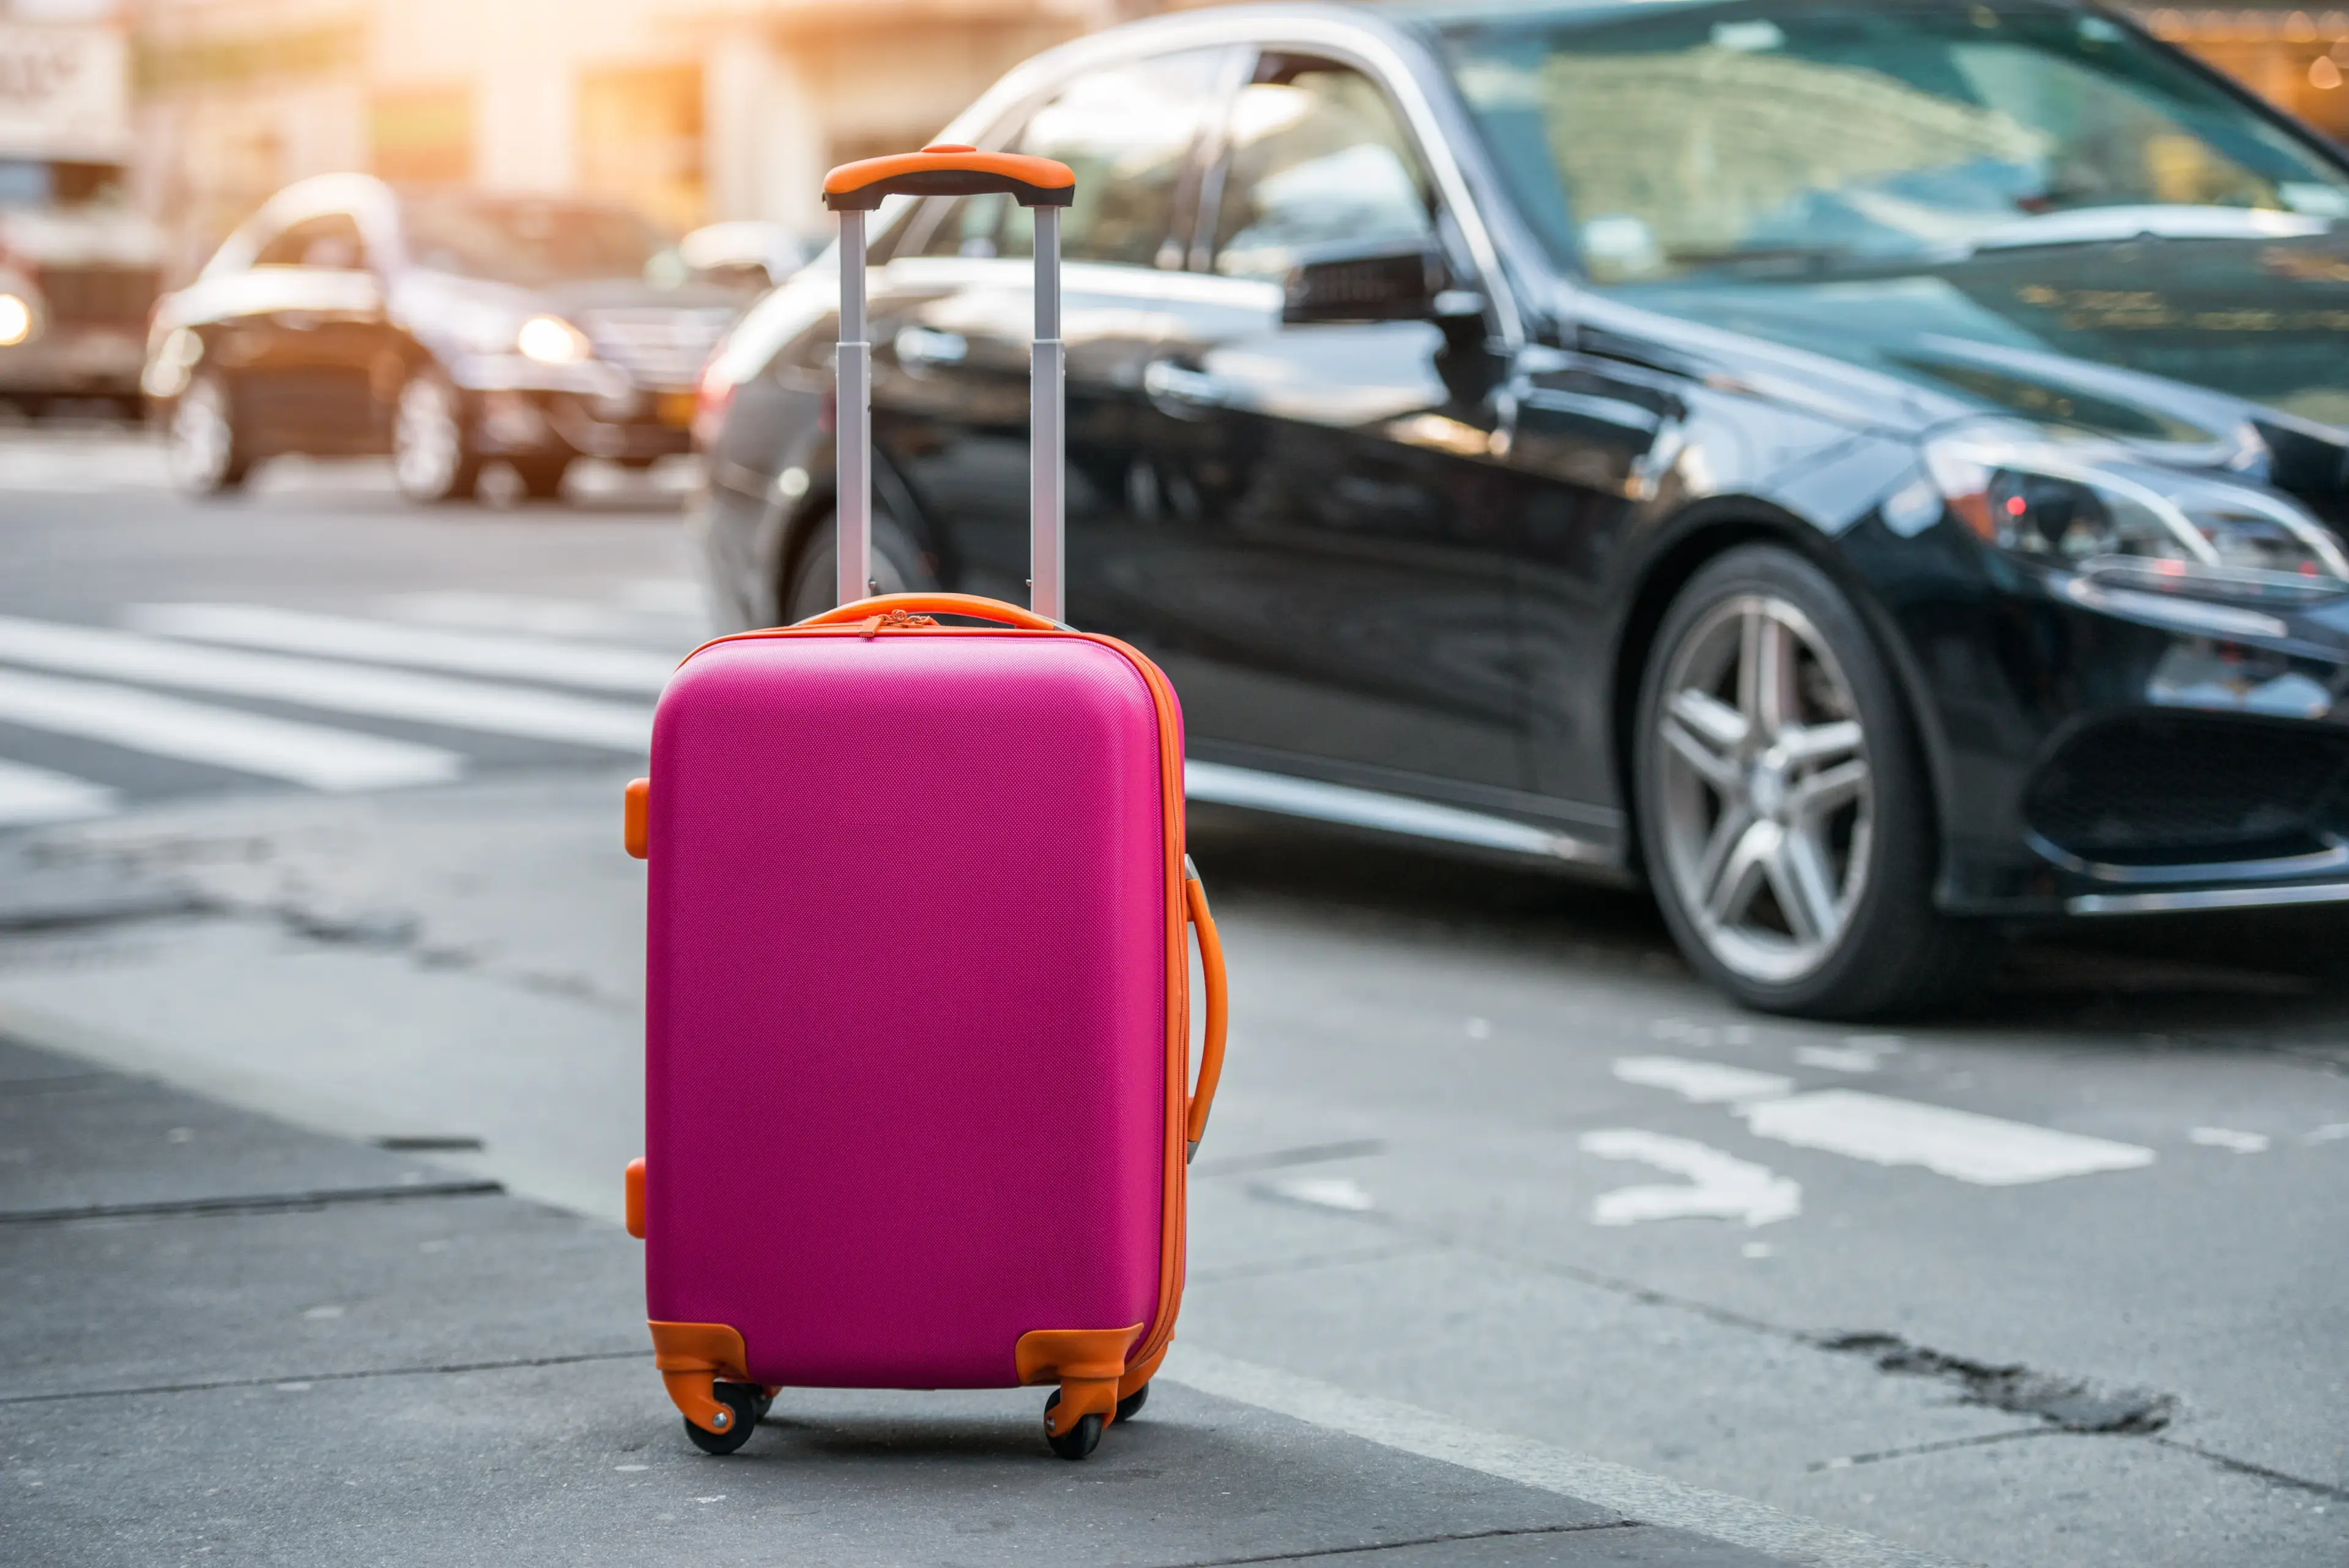
8 Strategies to Save Money on Luggage When Flying - Efficient Packing Tips and More!

La Quinta Coupon Codes and Deals

Hotels.com Coupon Codes and Deals
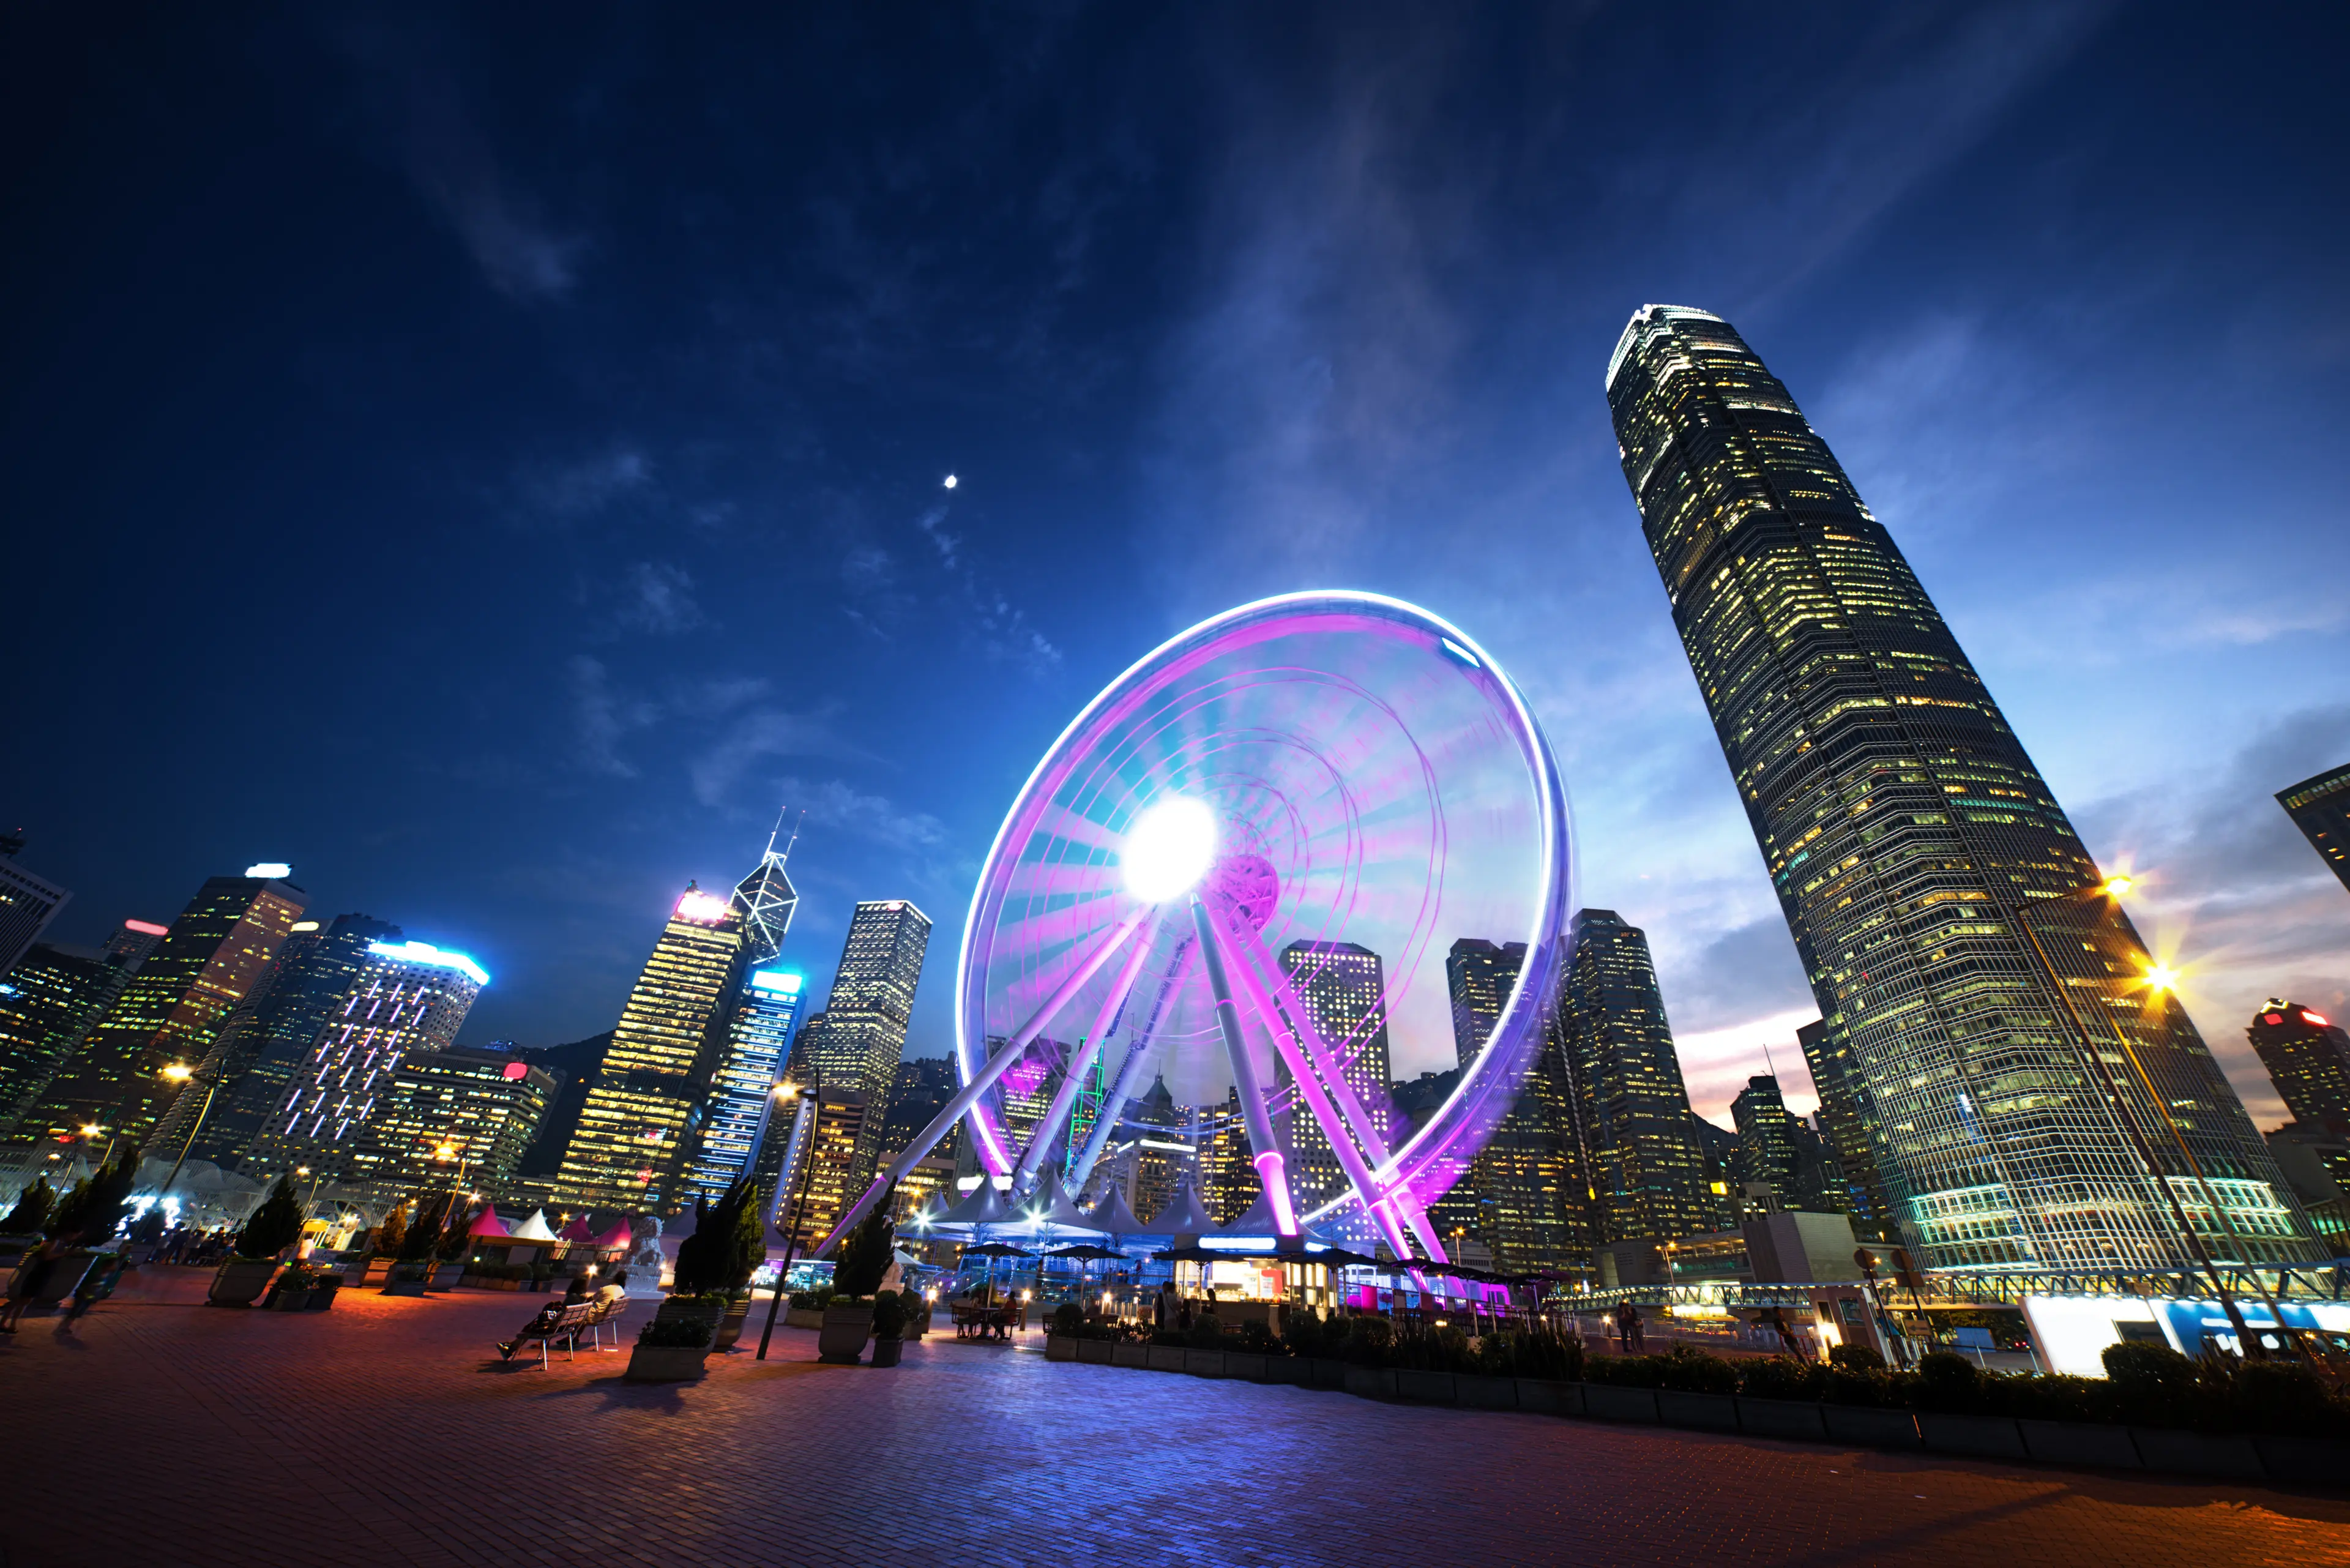
Hong Kong on the Cheap
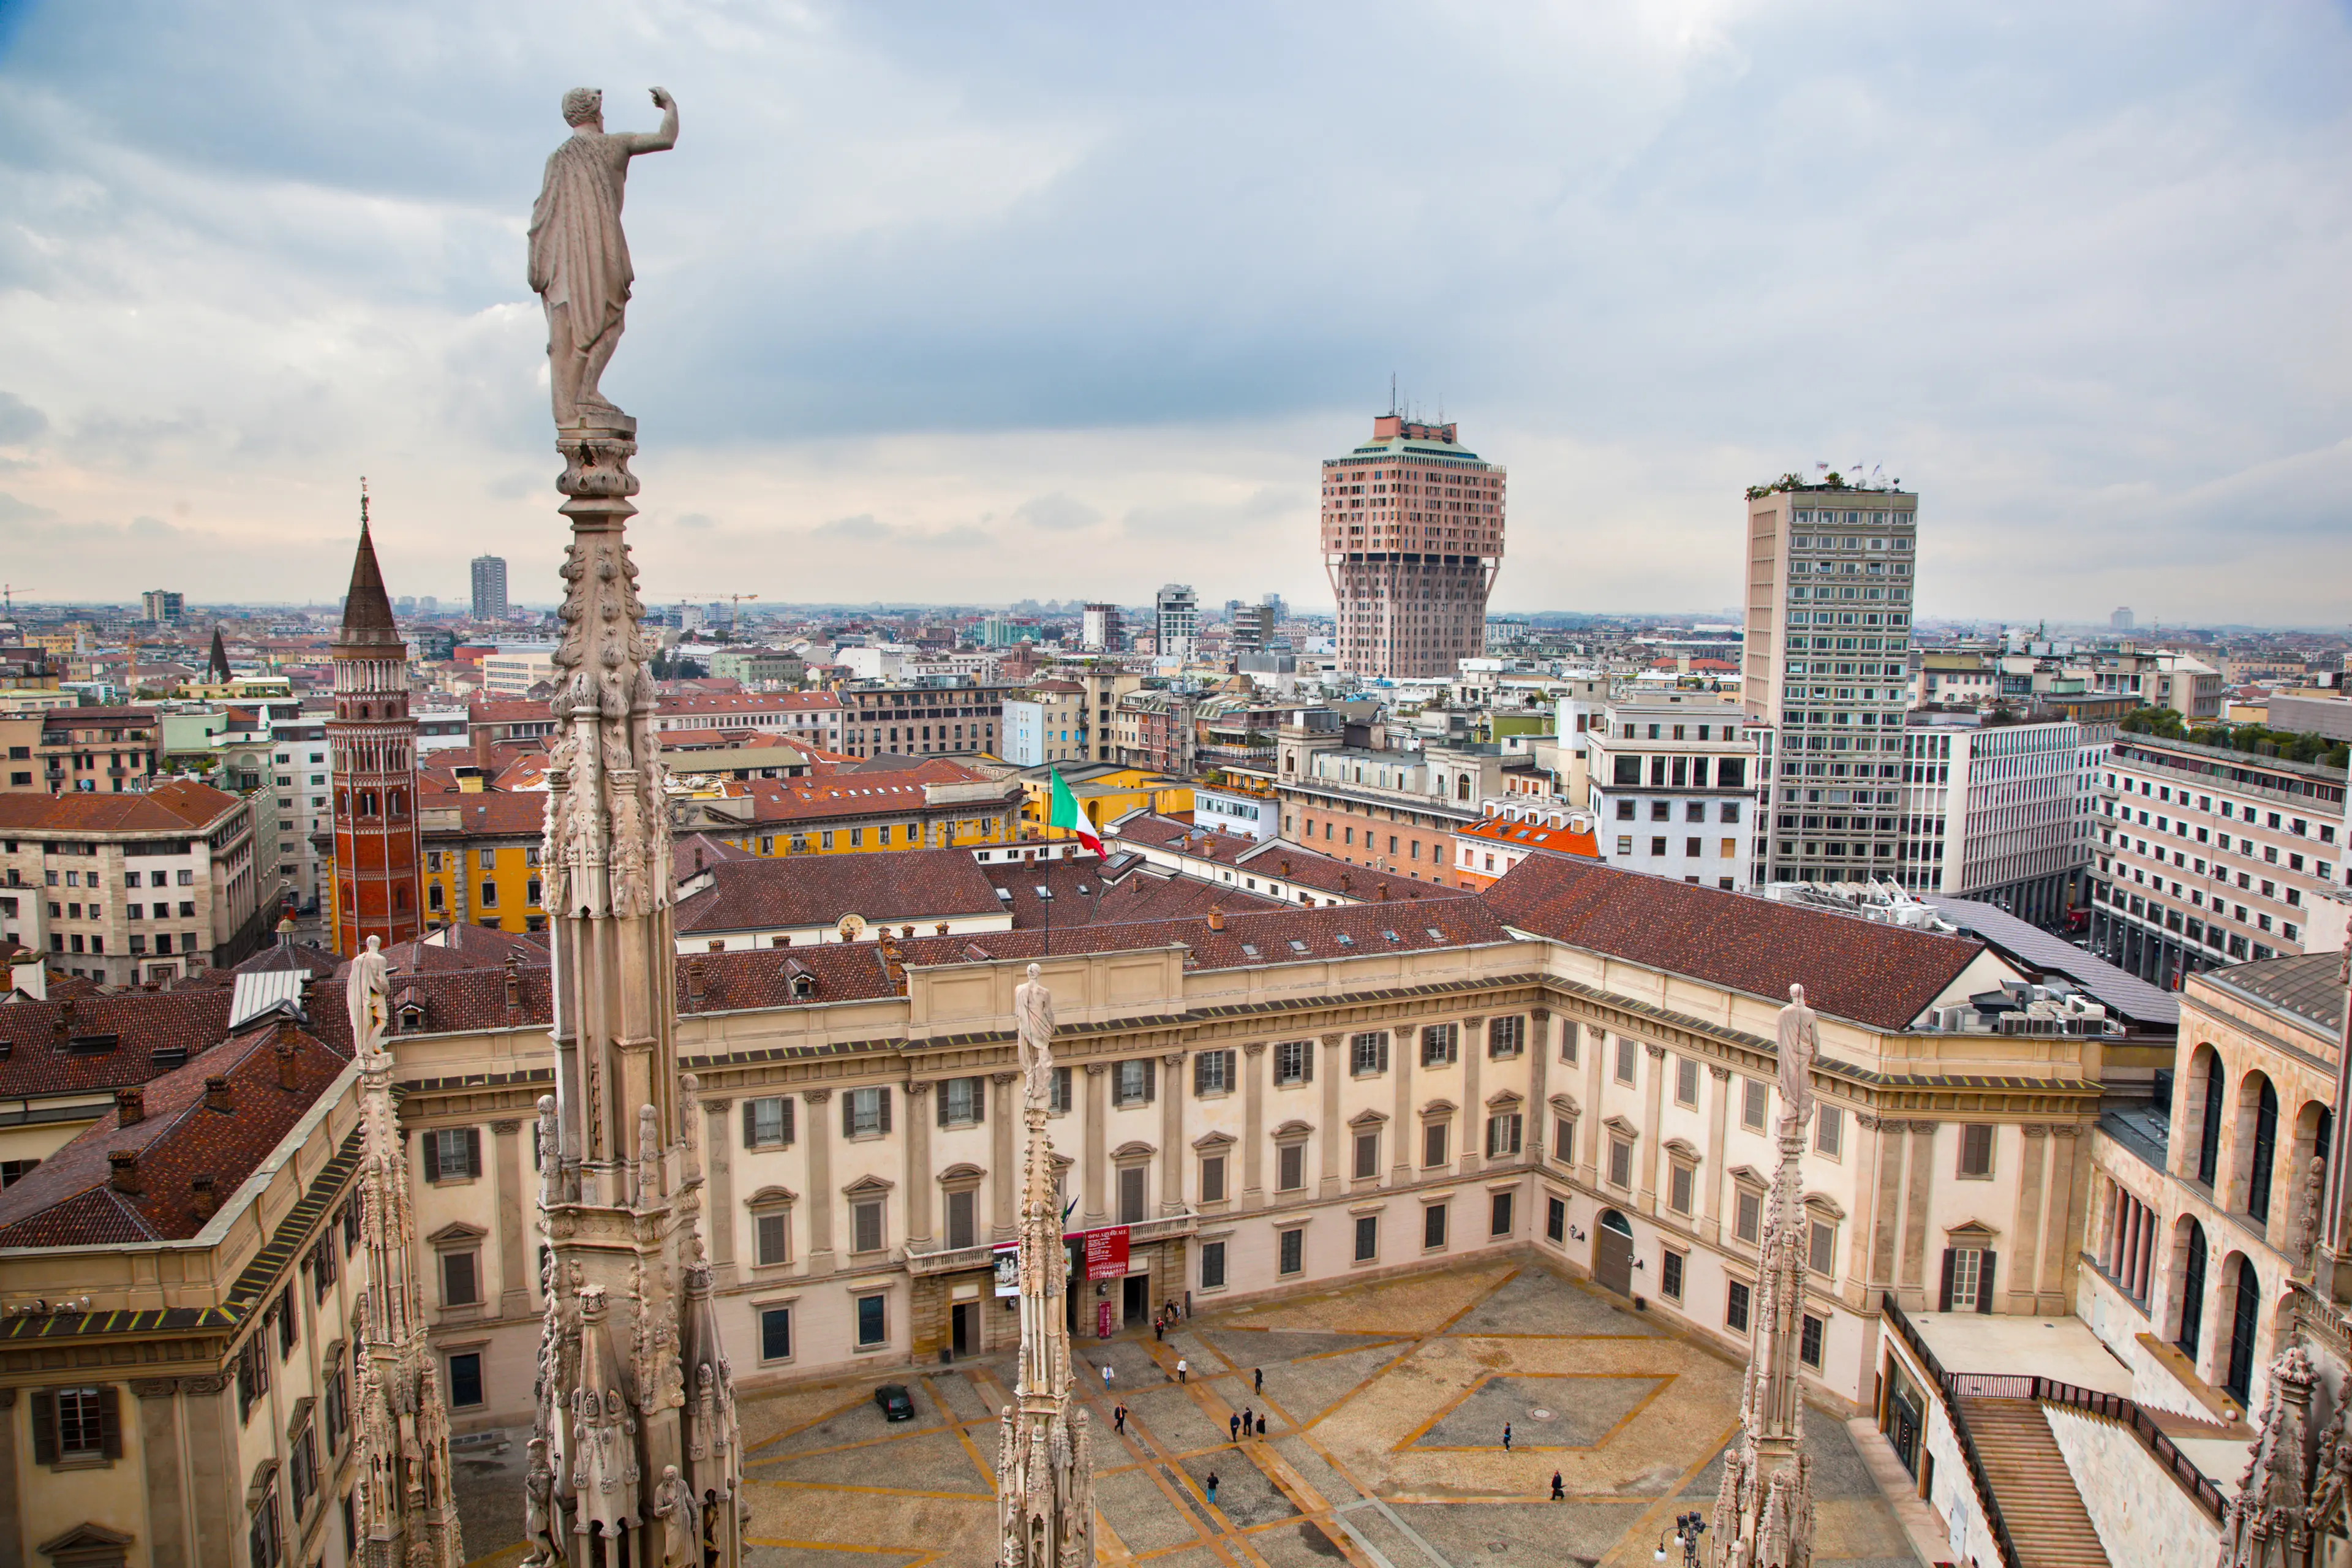
Getting Around Milan on a Budget
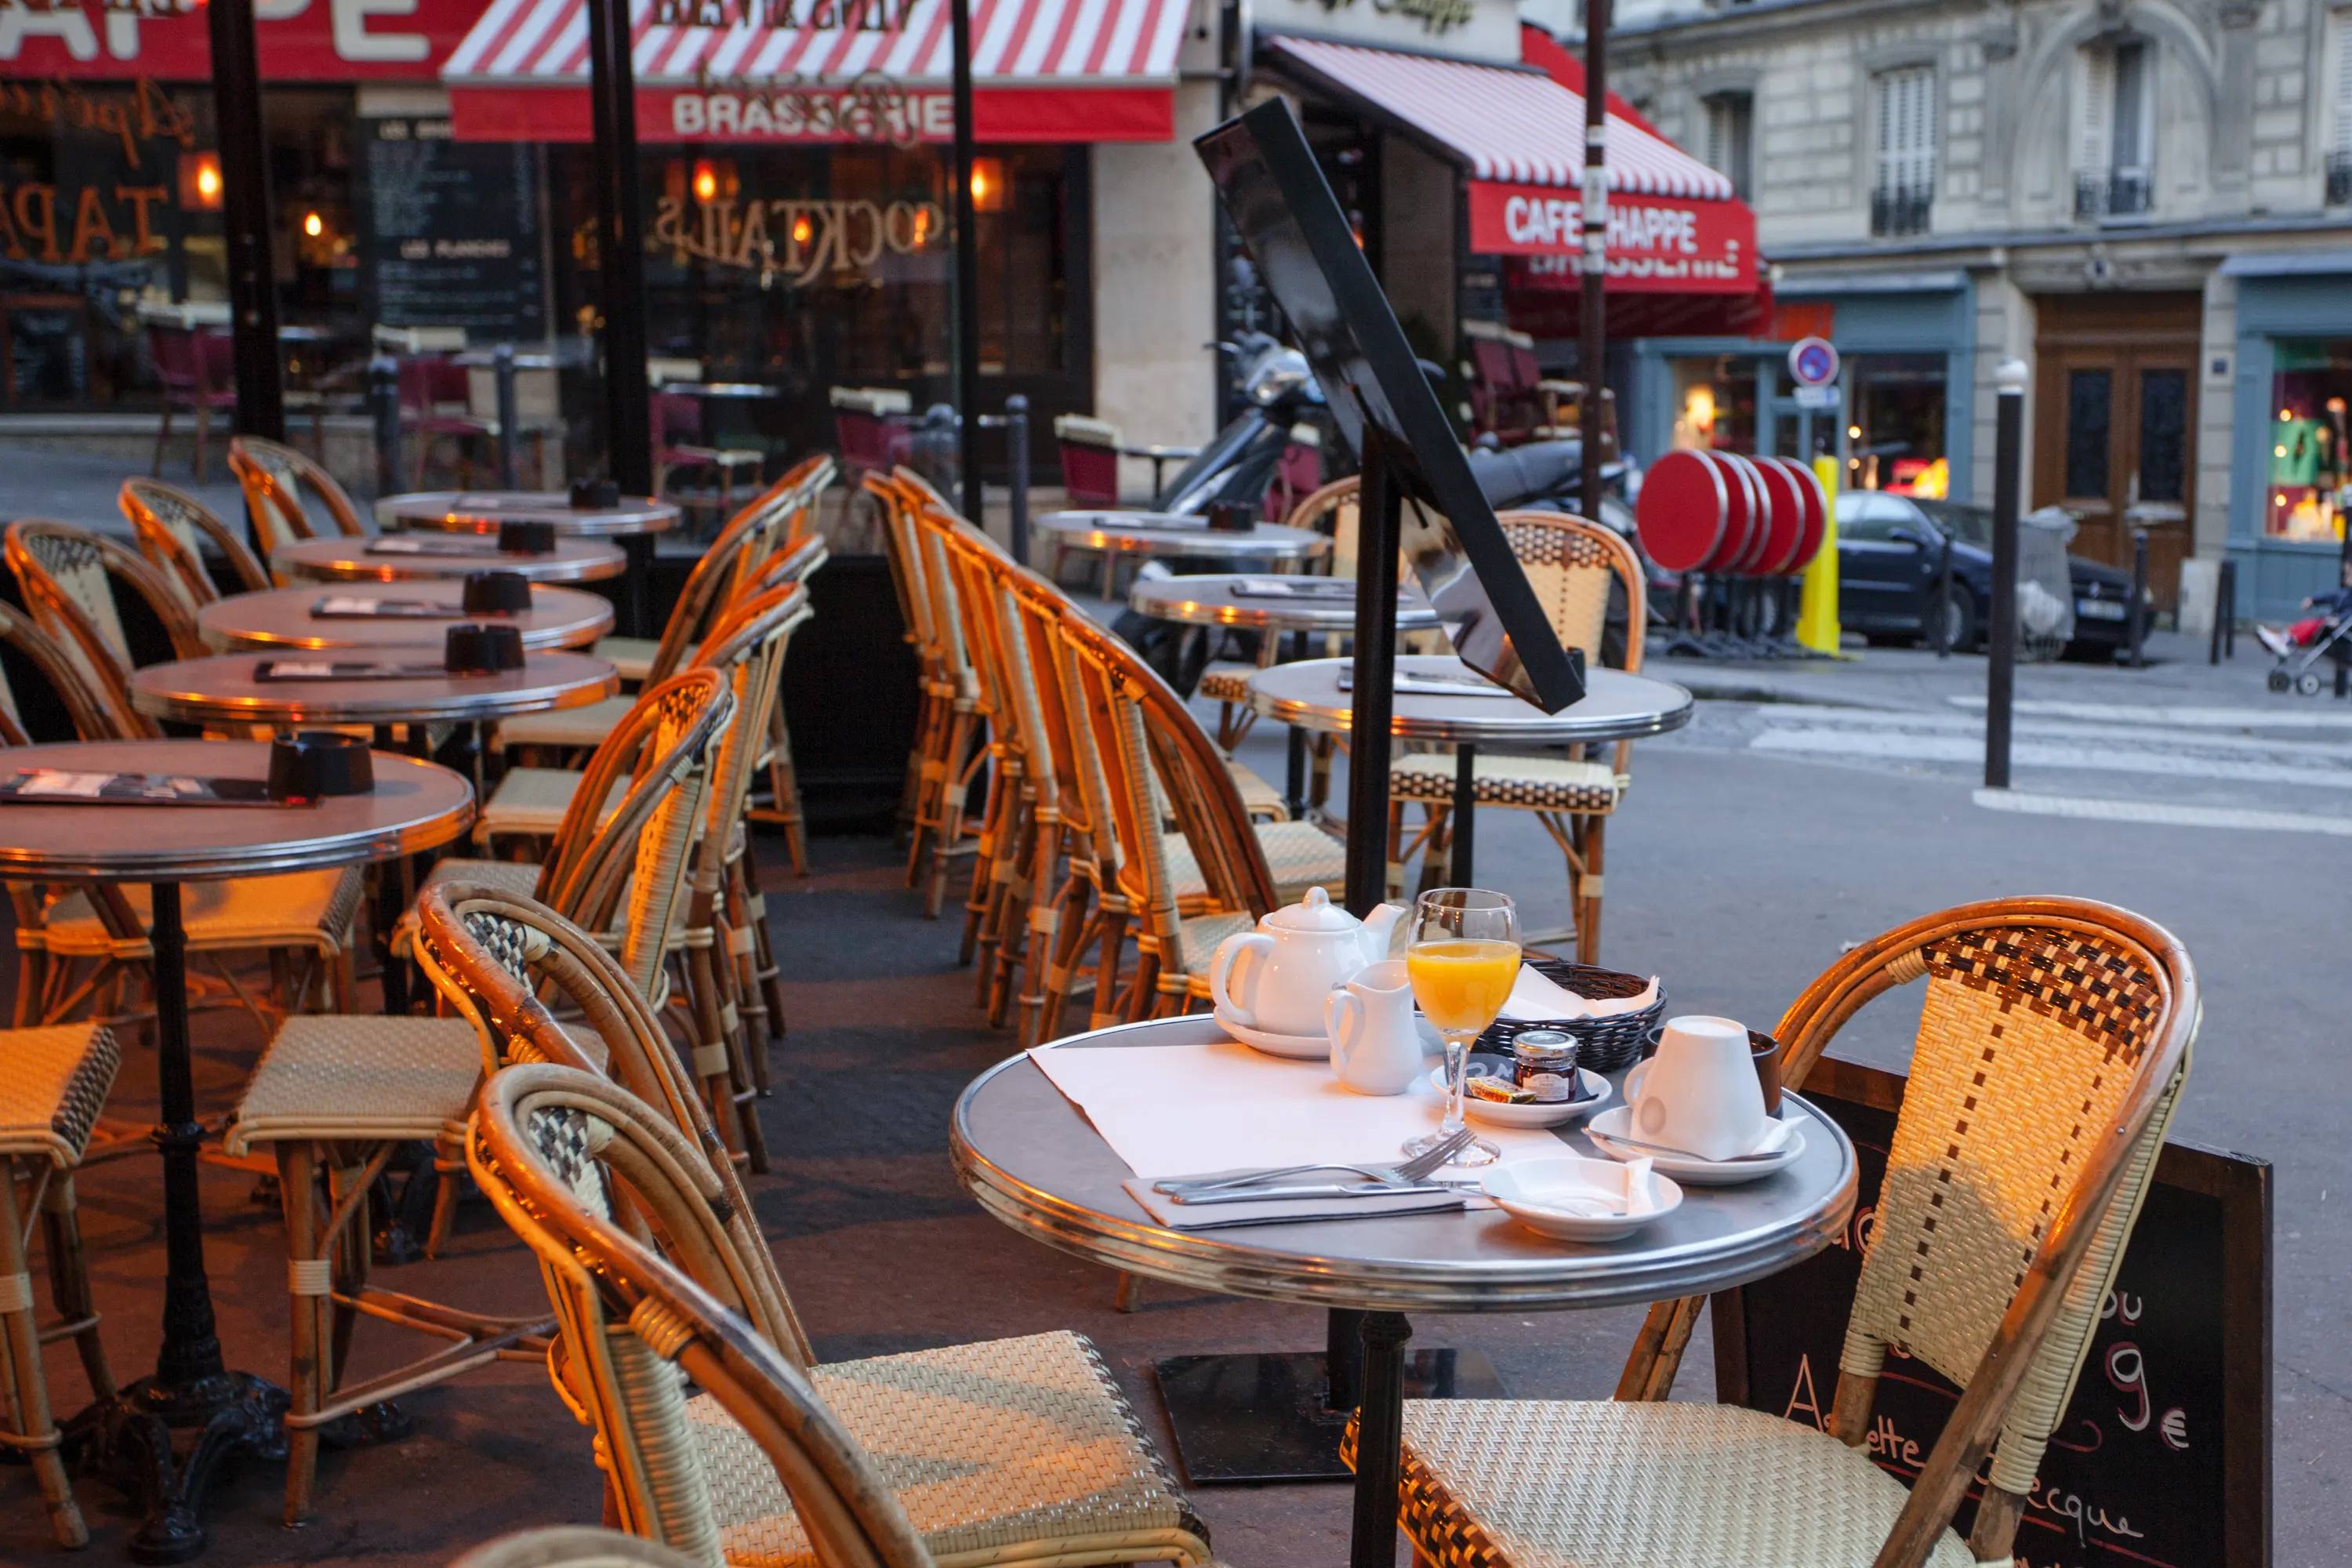
Eating Cheap in Paris
